
How To Flush Sediment Out Of Your Water Heater
Sediment builds up in the bottom of every storage water heater, and the High Desert makes it worse than most places. Our water carries a heavy load of calcium and magnesium, and those minerals drop out of solution as soon as the water heats up. Over time they form a gritty layer across the tank floor that works like insulation between the heat source and the water you actually want warmed. Hot water runs out faster, the gas or electric bill creeps upward, and the tank starts popping or rumbling during a recovery cycle. Flushing that sediment out once a year is one of the few maintenance jobs a homeowner can handle with a garden hose and about an hour of patience. This guide covers the full process, from shutting the unit down safely to refilling it without burning out an element. It also covers the point where a routine flush turns into a service call, because that line matters more than most people expect.
What Sediment Does To Your Water Heater And Why Flushing Matters
Sediment is not dirt tracked in from outside. It is dissolved mineral content that separates from the water once the temperature climbs, then settles into a hard layer on the bottom of the tank. In a gas water heater, that layer sits directly between the burner flame and the water, so the steel has to run hotter to push the same amount of heat upward. In an electric unit, the minerals pile around the lower element and bake onto its surface until the element can barely transfer heat at all. Every gallon of hard water that passes through the tank adds a little more to the pile, and the pile never leaves on its own. Homes across Phelan, Pinon Hills, and Oak Hills sit on supplies that test well above the national average for mineral content, so buildup happens faster here than it does closer to the coast. Learning the early signs gives you a chance to clear the tank before the damage turns permanent.
Signs You Need To Flush Sediment Out Of Your Water Heater
The first symptom most homeowners notice is noise. A tank with a sediment bed traps small pockets of water underneath the mineral layer, and those pockets flash to steam as the burner fires or the element energizes. The steam pushes up through the crust and collapses, which produces the popping, crackling, or low rumbling you hear from the garage or the utility closet. A tank that used to run quietly and now announces every heating cycle has a sediment problem building inside it. The noise usually shows up in the morning and again in the evening, when household demand is highest and the burner runs longest. Some tanks knock hard enough to vibrate the flue pipe or the supply lines above them. None of that sound is normal operation, and it grows louder as the mineral layer thickens over the seasons.
Reduced hot water volume is the second common sign, and it tends to arrive gradually enough that families adjust without noticing. Sediment takes up physical space inside the tank, so a 50 gallon heater carrying two inches of scale is no longer storing 50 gallons of usable water. Showers that once ran a comfortable fifteen minutes start going cold around the ten minute mark. Recovery time stretches out as well, because the heat source has to fight through the insulating layer before the water above it warms up. You may also see rusty or brown water on the hot side of a faucet after the tank has been sitting overnight. Cloudy water that clears from the bottom of the glass upward is usually just air in the line, while water that stays discolored points back to the tank itself. Run the cold tap alongside the hot tap to confirm the problem lives on the hot side only.
Fixtures downstream of the heater tell the same story to anyone willing to look. Grit collects in faucet aerators, shower heads, and the inlet screens on washing machines and dishwashers, and that grit had to come from somewhere. Unscrew an aerator on a bathroom faucet and check the screen for white or tan flakes trapped in the mesh. Sediment also fouls the drain valve on the heater, which explains why a tank that has never been flushed often refuses to drain when someone finally tries. Rising utility bills with no change in household habits round out the picture. A water heater fighting a mineral layer simply burns more fuel to deliver the same shower it delivered two years ago. Put those signs together and the tank is telling you clearly that it needs attention.
How Hard Water Sediment Damages A Water Heater Tank
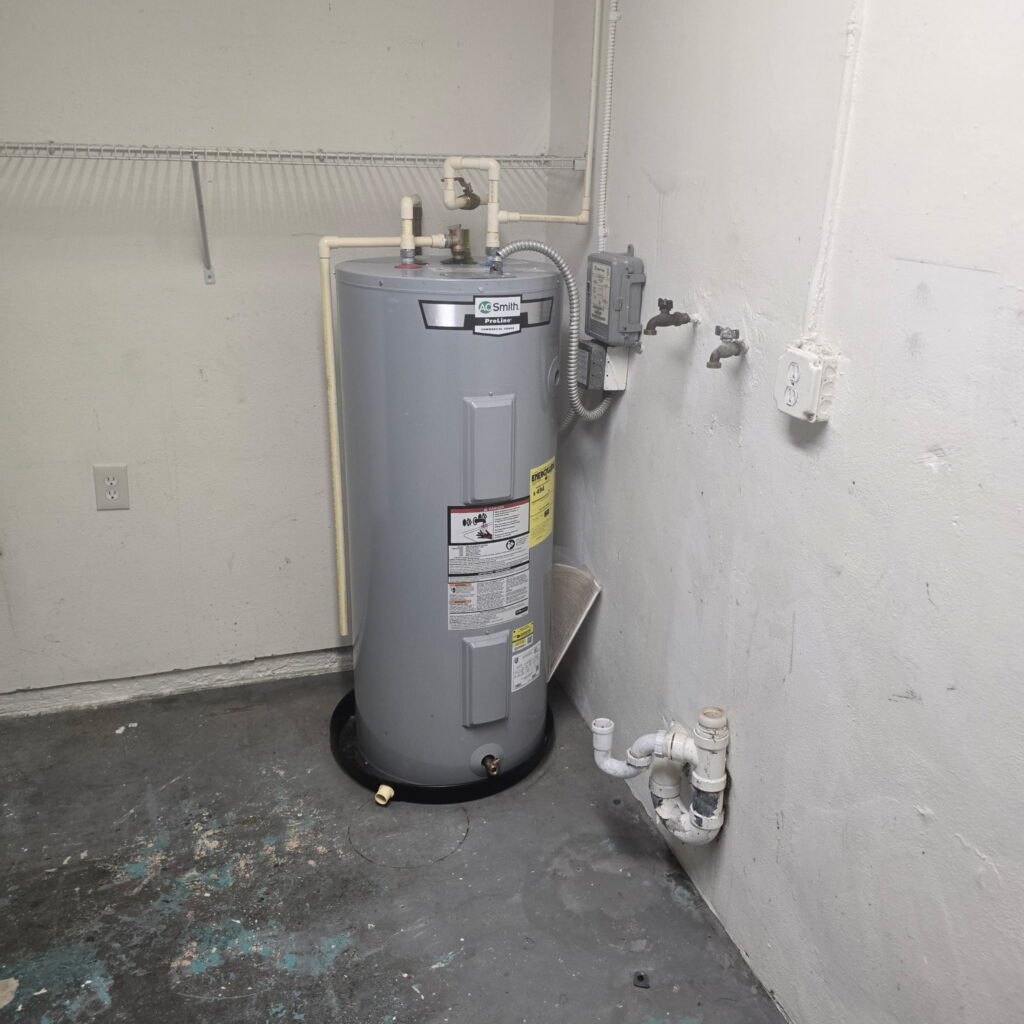
Gas water heaters take the worst of the damage. The burner sits beneath the tank floor and heats the steel from below, and that steel is coated on the inside with a thin glass lining that prevents corrosion. When sediment blocks heat transfer, the steel at the bottom of the tank runs far hotter than the manufacturer ever intended it to. Overheated steel expands, the glass lining does not expand at the same rate, and hairline cracks open across the coating. Water reaches bare metal through those cracks and rust begins working outward from the inside. By the time a rusted tank shows itself as a puddle on the garage floor, the failure has been developing quietly for years. Nothing repairs a cracked glass lining, so the only remaining option at that stage is full replacement.
Electric models fail differently but just as predictably. The lower heating element on a residential electric tank sits only a few inches off the floor, directly in the path of settling minerals. Scale bakes onto the element sheath and acts as a blanket, so the element runs hotter while delivering less heat into the water around it. That extra heat shortens element life considerably, and burned out lower elements rank among the most common electric water heater failures we see across the Victor Valley. Households often end up with the upper element carrying the entire load, which means lukewarm water and a tank that never fully recovers between showers. A buried element can also crack its sheath and start tripping the breaker without warning. Regular flushing keeps the element clean and lets it do the job it was engineered to do.
Sediment shortens the life of the sacrificial anode rod as well, and that part protects everything else. The anode is a length of magnesium or aluminum threaded into the top of the tank, and it corrodes on purpose so the steel underneath does not have to. High mineral content consumes the rod faster, and a heavy sediment bed alters water chemistry at the bottom of the tank in ways that accelerate the process further. Once the rod is fully consumed, the tank has no corrosion protection left at all. Manufacturers understand this, which is why most tank warranties require documented annual maintenance to stay valid. A heater that failed in year six with no flush history is usually a heater the manufacturer declines to cover. Consistent flushing protects the equipment and the warranty behind it at the same time.
How Often To Flush Sediment Out Of Your Water Heater
Once a year is the baseline recommendation from nearly every tank manufacturer selling in the United States. In hard water regions, twice a year serves the equipment better, and most of the High Desert qualifies as hard water territory by a wide margin. A simple test strip from any hardware store gives you a grain per gallon reading in about two minutes. Anything above seven grains per gallon counts as hard water, and plenty of homes in Phelan and Hesperia test well past that threshold. Households on private wells should test annually, since well chemistry shifts as the water table moves. Larger families push more water through the tank each month, which means more minerals deposited over the same period. Set the flushing schedule to match your actual water, not the calendar alone.
Timing deserves extra thought when the tank has never been flushed before. A heater that has run ten years without maintenance holds a thick, compacted mineral bed, and disturbing that bed can create problems instead of solving them. The drain valve can clog partway through the process and then refuse to close, which leaves you with a tank you cannot stop draining. Older plastic drain valves grow brittle with age and occasionally snap off in your hand at the worst possible moment. In some neglected tanks the sediment has been quietly plugging small pinholes, and flushing exposes a leak that already existed. None of that is a reason to skip maintenance permanently. It is a reason to let a licensed plumber handle the first flush on a long neglected tank, since a plumber can swap the valve on the spot if it fails.
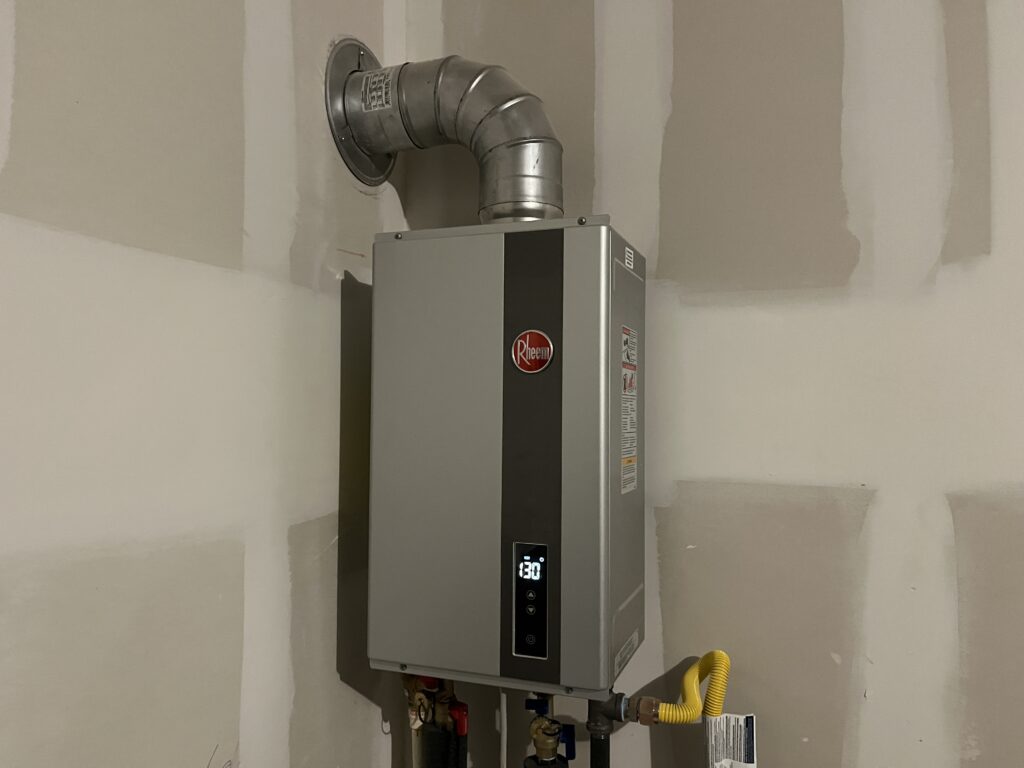
Tankless units require a completely different service. They store no water, so sediment never settles in a tank; instead, scale forms on the heat exchanger surfaces, and the correction is a descaling circulation using a small pump and a mild acid solution rather than a gravity drain. Most tankless manufacturers call for descaling once a year, and more often on hard water supplies like ours. Early fall is the smartest window for servicing either style of heater. Demand climbs as soon as overnight temperatures fall, because incoming groundwater arrives colder and the unit works harder for every shower and every load of laundry. A tank cleared of sediment in September carries a household through winter with far fewer surprises. Want a full evaluation before the cold weather arrives? Click here for our water heater inspection service.
How To Flush Sediment Out Of Your Water Heater Step By Step
The flush itself is straightforward, though the order of operations is what keeps it safe. Water inside a residential heater sits between 120 and 140 degrees, hot enough to cause a serious burn in a matter of seconds. Most tanks hold 40 to 75 gallons, and all of that water has to go somewhere controlled. Gas units need the control valve moved out of the heating position before anything else happens, and electric units need the breaker switched off first. Give yourself a full hour, and more than that if the tank drains slowly. Read the entire process before you touch a single valve, because stopping halfway through creates its own set of problems.
Tools And Safety Steps Before You Flush Your Water Heater
Gather everything in advance so you are not hunting for supplies with a hose running. You need a standard garden hose long enough to reach a floor drain, a driveway, or a landscaped area that can absorb 50 gallons of hot water without flooding anything. Add a flathead screwdriver or a pair of channel lock pliers for the drain valve, a bucket for the first cloudy gallon, and a pair of heavy work gloves. Safety glasses are worth wearing, since a clogged valve can release a sudden spray of hot debris. A shop vacuum nearby handles small spills before they reach drywall or carpet. If the heater sits in a tight closet, a headlamp beats trying to hold a flashlight while turning a valve. Old towels around the base catch the drips that always happen at the hose connection.
Shutting the heat source down properly comes next, and this step is not optional. On a gas water heater, turn the control knob on the front of the unit to the pilot or vacation setting so the main burner cannot fire while the tank is empty. Never leave a gas burner in the heating position during a flush, because firing a dry tank can damage the glass lining and the flue. On an electric water heater, go to the panel and switch off the dedicated double pole breaker feeding the unit, then verify the power is truly off before proceeding. An electric element that energizes without water surrounding it burns out in seconds, and that mistake turns a free maintenance task into a paid repair. Label the breaker with tape so nobody flips it back on while you work. Give the tank thirty minutes minimum after shutting the heat down.
Finally, deal with the water supply and the temperature. Close the cold water supply valve at the top of the heater, which is normally a ball valve with a lever handle or a gate valve with a round handle. Turning the handle a quarter turn on a ball valve is enough; on a gate valve, turn it clockwise until it stops. Letting the tank sit for an hour or two after shutdown drops the water temperature enough to make the job much safer, though the water will still be warm. Some homeowners run a hot tap somewhere in the house for a few minutes to pull cooler water into the tank ahead of time. Keep children and pets out of the work area for the duration. Confirm the discharge point outside can handle hot water without damaging plants or hardscape.
The Step By Step Water Heater Sediment Flush Process
Start by connecting the garden hose to the drain valve at the bottom front of the tank, threading it on by hand and then snugging it lightly. Route the hose downhill the entire way, since the tank drains by gravity and any high spot in the line slows the flow to a trickle. Run the far end to a floor drain, a driveway, or an area of the yard that will not wash out. Open a hot water faucet somewhere in the house and leave it open for the whole process, which breaks the vacuum and lets the tank empty freely. Without that open faucet, the tank gurgles and drains at a fraction of its normal rate. Place your bucket under the valve for the first moments in case the hose connection weeps. Double check that the cold supply valve at the top of the heater is fully closed before you go any further.
Now open the drain valve and let the tank empty. Many valves need a flathead screwdriver in the slot; others have a small handle that turns counterclockwise. Expect the first water out to look cloudy, tan, or rust colored, and expect small chunks of scale to come with it. A 50 gallon tank usually takes ten to twenty minutes to empty through a standard drain valve. If the flow slows to a dribble or stops entirely, sediment has blocked the valve opening, and forcing it with a wire rarely ends well. Watch the color of the water coming out the far end of the hose, since that color is your progress indicator. Keep the area clear while the tank empties, because the water leaving early in the process is still hot enough to scald.
Once the tank is empty, the real cleaning begins. Leave the drain valve open and briefly open the cold water supply valve at the top of the heater for fifteen to twenty seconds, then close it again. That burst of incoming water stirs the remaining sediment off the tank floor and carries it out through the hose. Repeat that cycle four or five times, watching the discharge water each round. The goal is water that runs clear with no visible grit, which usually takes several bursts on a tank that has gone more than a year without service. Tanks with heavy buildup may never run completely clear in one session, and that is acceptable; removing most of the layer still helps. Do not run the burst cycle for minutes at a time, because a steady inflow settles the sediment rather than lifting it.
Refilling And Restarting Your Water Heater After The Sediment Flush
Close the drain valve firmly once the discharge runs clear, then remove the garden hose and set your bucket underneath to catch the residual drip. Leave the hot water faucet inside the house open, because it gives trapped air a way out as the tank fills. Open the cold water supply valve at the top of the heater fully and let the tank refill, which takes roughly ten to fifteen minutes on a standard residential unit. The open faucet will sputter and spit air for a while before it settles into a smooth stream. That steady stream of water is your signal that the tank is full and the air has cleared. Walk through the house afterward and run every hot fixture briefly to purge air from the branch lines. Air pockets left in the system cause noisy faucets and inconsistent flow for days.
Only after the tank is completely full should you restore the heat source. On a gas unit, return the control knob to the normal operating position and follow the lighting instructions printed on the label if the pilot went out. On an electric unit, switch the breaker back on and listen for the quiet hum of the element beginning to heat. Restoring power to an electric heater before the tank fills destroys the elements almost immediately, so confirm the full tank first every single time. Check the drain valve, the supply connections, and the temperature and pressure relief valve for drips over the next several minutes. A drain valve that weeps after a flush usually has a piece of grit caught in the seat, and a quick open and close cycle sometimes clears it. Valves that keep dripping need replacement rather than tightening.
Give the system a full day of observation before calling the job finished. Hot water should reach the tap within the normal window, and the popping sounds that prompted the flush should be noticeably quieter or gone. Set the thermostat at 120 degrees, which is hot enough to control bacteria growth while reducing scald risk and slowing new mineral buildup. Look at the floor around the base of the tank in the morning, since leaks revealed by a flush usually show up within twenty four hours. Write the date on a piece of tape stuck to the side of the heater so you know when the next service is due. If anything about the restart went sideways, stop and call a professional rather than experimenting. Dealing with a heater that will not relight, leaks, or fails to heat? Click here for our water heater repair service.
Why You Need A Professional Water Heater Flush From Rescue Plumbers Inc
Plenty of homeowners flush their own tanks successfully every year, and we support that. The trouble starts on tanks that were ignored for a decade, on units tucked into cramped closets, and on systems where the flush uncovers a problem that was already brewing behind the sediment. A professional flush includes an inspection of the parts you cannot easily evaluate on your own, including the anode rod, the relief valve, the expansion tank, and the venting. Our technicians work all over the High Desert and know exactly what our water does to equipment here. Booking the service takes one phone call and removes the guesswork from a job that involves 50 gallons of scalding water.
When A Water Heater Sediment Flush Turns Into A Repair Call
Certain situations should send you straight to the phone instead of the hardware store. A drain valve that will not close, a tank that refuses to drain, and any sign of water at the base of the unit all qualify. Brittle plastic valves on older heaters break under hand pressure more often than people expect, and a broken valve on a full tank becomes an emergency in seconds. Rusty water that persists after a complete flush usually indicates the glass lining has already failed. Any smell of gas near the unit means you should leave the area and call for service immediately rather than troubleshooting.
Age changes the calculation as well. A standard tank water heater lasts eight to twelve years in soft water and often less than that on hard water supplies. Flushing a tank in year fourteen sometimes reveals corrosion that had been sealed behind the mineral layer. Our technicians will tell you honestly when a flush makes sense and when the money belongs in a replacement instead. That conversation happens before any work starts, not after.
Pressure problems deserve professional eyes too. Homes with a pressure regulator on the main line have what plumbers call a closed system, and heated water in a closed system has nowhere to expand. That pressure pushes on the tank, the relief valve, and every fixture in the house. An expansion tank solves it, and we check for one on every water heater visit. Curious about thermal expansion protection for your home? Click here for our water heater expansion tank service.
What Our Professional Water Heater Flush And Inspection Includes
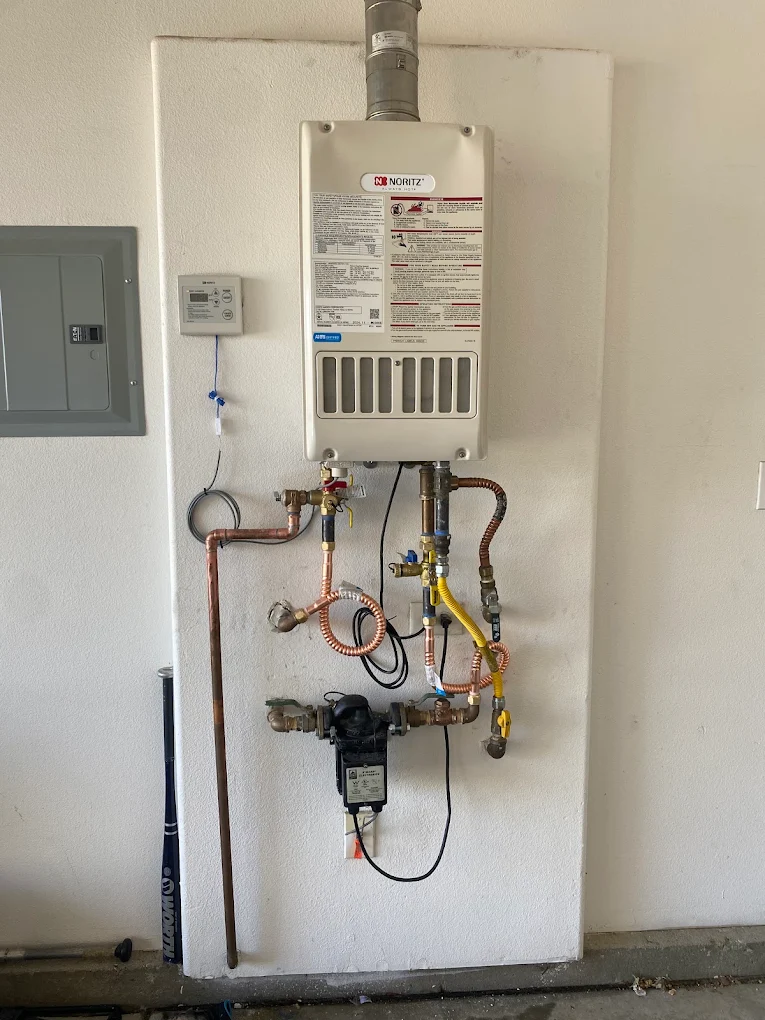
Our water heater service goes well past draining and refilling the tank. We isolate the unit safely, perform a full sediment flush with repeated agitation cycles, and continue until the discharge runs as clear as the tank allows. While the tank is empty, we inspect the drain valve and replace it when it shows wear. The whole visit is documented so you have a maintenance record for warranty purposes.
We also check the components that determine how long the heater survives. That includes testing the temperature and pressure relief valve, evaluating the anode rod when it is accessible, verifying the thermostat setting, and inspecting supply connections for corrosion. On gas units, we check burner condition and confirm the venting draws correctly, which is a safety matter, not a comfort matter. On electric units, we test element resistance and look at the wiring connections at the top of the tank. Anything we find gets explained in plain terms with a clear price before we proceed.
Water quality is the root cause of most of what we find in this region. Hard water shortens the life of heaters, fixtures, dishwashers, and washing machines throughout the home, and no amount of flushing changes the mineral content coming into the house. Treating the water at the point of entry protects every appliance downstream at once. We are happy to walk you through the options and what each one realistically accomplishes. Tired of hard water damaging your appliances? Click here for our water filtration systems service.
Why Choose Rescue Plumbers Inc For Your Water Heater Flush
Rescue Plumbers Inc is a family owned and operated company with 15 years of experience serving Phelan, Victorville, Hesperia, Apple Valley, Oak Hills, Pinon Hills, Wrightwood, and the surrounding communities. We do not pay our technicians on commission, so nobody at our company has a financial reason to talk you into a new water heater you do not need. That single policy changes the entire conversation at your front door. You get a straight assessment of your equipment and a recommendation built around what the tank actually needs.
Every estimate we provide is free and carries no obligation. We are licensed and insured, and our technicians hold the professional credentials required to work on gas and water systems safely and legally. Calling us gets you a real human connection rather than a phone tree and a scripted upsell. Local service means we understand High Desert water, High Desert temperature swings, and the specific ways equipment fails out here.
Schedule your water heater flush before the winter demand arrives and let the tank start the cold season clean. Call Rescue Plumbers Inc at (760) 241-3100 to book a visit, or email us at fixit@rescueplumbersinc.com with questions about your unit. Our shop is located at 6083 Lindero Rd, Phelan, CA 92371. One hour of maintenance now protects an appliance that costs thousands to replace. We would rather help you keep the heater you have working well for years to come.